Epoxy Garage Floor Coating Kits: Are They Worth the Risk?
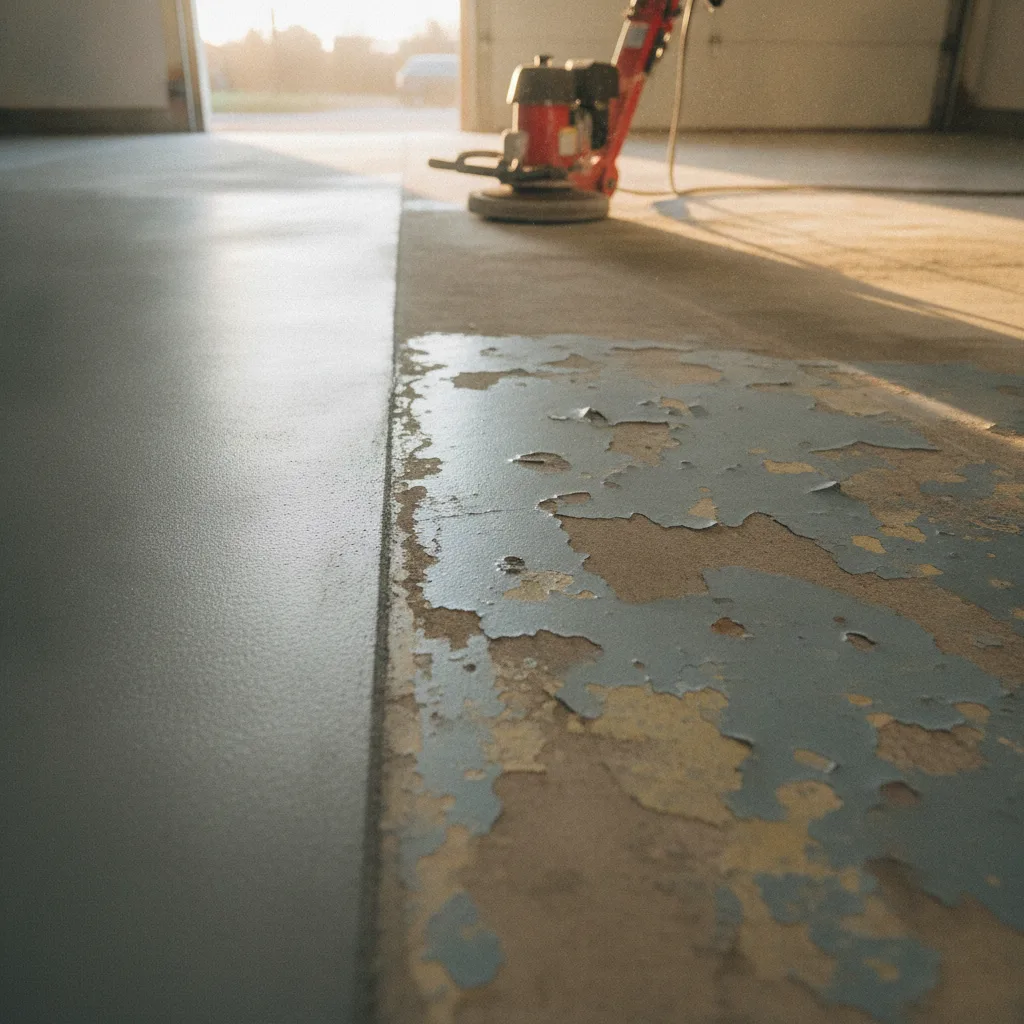
An epoxy garage floor coating kit from a hardware store costs between $150 and $400 and promises a showroom finish over a weekend. In reality, most kits use water-based epoxy with far lower solids content than professional-grade coatings, bond poorly to unprepped concrete, and peel within one to three years. For most Melbourne homeowners, the hidden costs outweigh the upfront savings.
What exactly is in a typical epoxy garage floor coating kit?
Most retail kits contain a two-part water-based epoxy with a solids content of around 30 to 50 percent. That means nearly half of what you brush onto the floor evaporates as water and solvent, leaving a film that is genuinely thin once it cures. Professional-grade 100-percent-solids epoxy stays exactly as thick as it goes on, building a coating that is typically two to three times the dry-film thickness of a kit product. The colour chips or vinyl flakes included in cheaper kits are also finer and lighter than the broadcast flake used by installers, so coverage can look sparse or uneven once the topcoat goes on.
Why does surface preparation matter so much with an epoxy garage floor coating kit?
Surface preparation is the single biggest reason DIY epoxy fails. Epoxy needs a mechanically abraded, chemically clean, moisture-free surface to bond properly. Kits include an acid-etch solution that opens the surface of the concrete, but acid etching alone is no substitute for diamond grinding. Grinding removes laitance (the weak top layer of concrete), opens the pores evenly and creates the surface profile that grabs the epoxy at a mechanical level. Without it, even the best product can delaminate.
Concrete also holds moisture. If the slab has a moisture vapour emission rate above about 3 pounds per 1,000 square feet per 24 hours (a standard industry threshold), the epoxy will blister as trapped moisture tries to escape through the coating. Most kit instructions mention doing a plastic-sheet test overnight, but they do not tell you what to do if the test fails. Professional installers use calibrated moisture meters and, where needed, apply a moisture-tolerant primer before the epoxy goes down.
A standard single-car garage is roughly 30 to 36 square metres of floor. Grinding that surface correctly takes one to two hours with a walk-behind machine, generates a significant amount of concrete dust, and requires a vacuum rated for fine particles. Skipping this step to save on hire costs is the most common reason kit floors fail within the first year.
How do the real costs of a kit compare to a professional epoxy install?
On paper, a kit looks like a bargain. But add up the full picture. The kit itself runs $150 to $400. You will need a concrete grinder or floor buffer, which hires for $80 to $130 a day. A proper diamond-cup wheel to fit that grinder is another $40 to $80. Add painter’s tape, a mixing paddle, roller frames, roller sleeves rated for solvent products, disposable gloves and safety goggles, and you are comfortably past $500 before you have touched the floor.
Then factor in your time. Prep, application, cure time between coats, and cleanup across a full weekend is realistic. If the floor peels, add a further half-day to grind it back and start again, plus the cost of another kit. Several Melbourne tradies who have called Metal and Flake after a failed DIY attempt have reported spending close to what a professional quote would have cost them, and still ending up with a floor that looked patchy.
A professional epoxy garage floor in Melbourne, installed with diamond-ground prep, a quality primer, a broadcast flake layer and a clear polyurethane topcoat, typically carries a multi-year warranty and is designed to handle daily traffic from vehicles, trolley jacks and stored gear without peeling or yellowing.
What specific problems do kit floors develop over time?
The most common failure modes are peeling at the edges, hot-tyre pick-up, and yellowing. Hot-tyre pick-up happens when a car parks on a curing or thin epoxy film: the heat from the tyres softens the coating just enough for it to stick, and when the car pulls out it takes strips of the floor with it. Professional topcoats rated for vehicle traffic use aliphatic polyurethane or polyaspartic chemistry that resists this.
Yellowing is another real issue. Many water-based epoxy kits use aromatic chemistry that breaks down under UV exposure. A garage door that lets in afternoon sun will cause visible yellowing within one Melbourne summer. Aliphatic formulations, which are standard in professional installs, hold their colour under UV far better.
Edge and perimeter peeling usually traces back to inadequate grinding in the corners and along the walls, areas that a walk-behind machine cannot reach without a dedicated edge grinder. Professionals bring both tools as a matter of course.
Are there situations where an epoxy kit is a reasonable choice?
Honestly, yes, in a fairly narrow set of circumstances. If you are coating a small workshop floor that sees foot traffic only, the concrete is new and dry, you hire proper equipment and take prep seriously, a mid-range two-part kit can last several years with reasonable care. The same applies to a shed floor where aesthetics matter less than basic dust-sealing.
For a garage that parks one or more cars, stores chemicals or heavy tools, or that you want to look good for more than a couple of years, a kit is a gamble. The labour you put in is real whether the result lasts or not, and a failed floor still needs to be ground back before anything else will stick to it.
What should you look for if you do decide to use an epoxy garage floor coating kit?
If you are set on a DIY approach, look for a kit with a stated solids content above 50 percent, a two-part formulation (Part A resin and Part B hardener mixed on site), and a separate UV-stable topcoat rather than a single-coat system. Read the technical data sheet, not just the label. The TDS will tell you the minimum surface preparation requirement, the recoat window and the full cure time before vehicle traffic. Follow those times precisely. Most failures happen because someone drove on a floor that had skinned over but was not through-cured.
Hire a diamond grinder, not an orbital buffer. Acid etch after grinding, not instead of it. Fill cracks and spalls with an epoxy mortar before coating. And do not skip the moisture test.
All of that said, the most cost-effective outcome for most Melbourne homeowners is to call a professional once, get it done correctly with commercial-grade product and warranted workmanship, and never have to think about it again.
Book a professional epoxy install with Metal and Flake instead of a DIY kit.