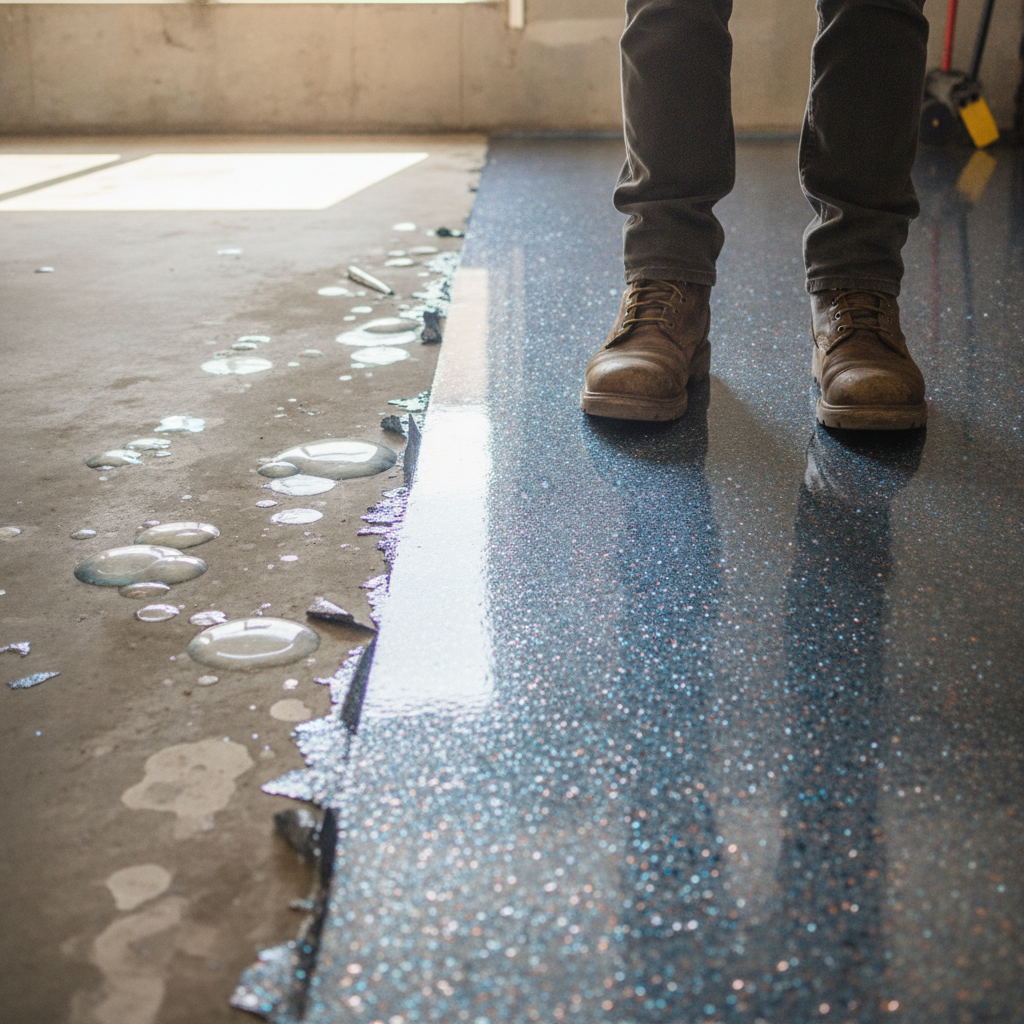
Epoxy Kits for Garage Floors: DIY vs Professional Results Compared
Epoxy kits for garage floors are water-based or solvent-based two-part coatings sold at hardware stores, designed for homeowners to apply themselves. They cost between $150 and $500 for a single-car garage, but professional epoxy systems use higher-solids resins, proper concrete grinding and multiple coats that produce a finish lasting two to three times longer than most DIY results.
What do epoxy kits for garage floors actually include?
Most off-the-shelf epoxy kits for garage floors contain a two-part water-based epoxy resin, a bag of colour flakes, an acid-etch solution and a roller. The solids content in these kits typically sits between 30 and 50 percent, which means a significant portion of the coating evaporates as it cures. What’s left behind is a relatively thin film, often around 100 to 150 microns dry film thickness. That’s the main reason many homeowners notice peeling or bubbling within two to three years, particularly in Melbourne garages where summer heat causes concrete to expand and contract.
The kits themselves aren’t bad products. They’re designed for convenience and a moderate budget. But it’s worth understanding exactly what you’re buying before you commit a weekend and a few hundred dollars to the job.
How hard is garage floor preparation for a DIY epoxy kit?
Concrete preparation is the single biggest factor separating a lasting epoxy floor from one that fails early. Professional installers use diamond-grinding equipment to open the concrete surface and create a mechanical profile, the tiny peaks and valleys the epoxy bonds into. Most DIY kits recommend acid etching instead, which is better than nothing but nowhere near as effective on dense or power-trowelled slabs, which is exactly what most Melbourne suburban garages have.
If the concrete isn’t opened up properly, the epoxy sits on top like paint rather than bonding into the slab. Moisture trapped beneath the surface then pushes it off. A few specific things to watch for before you start any DIY kit application:
- Moisture vapour emission from the slab. Concrete slabs can emit moisture from below, particularly in older homes without a proper vapour barrier. You can test this by taping a piece of plastic sheeting flat against the floor for 24 hours. If condensation forms underneath, a standard kit is likely to fail.
- Previous sealers or coatings. If the garage floor has been painted or sealed before, acid etching won’t cut through. The new epoxy won’t stick.
- Oil contamination. A single oil drip from a car that sat there for years can create a weak spot that de-bonds an entire section of coating.
Professional crews carry moisture meters, angle grinders with diamond cup wheels and commercial degreasers. That preparation kit alone represents several thousand dollars of equipment that most homeowners don’t have sitting in the shed.
How do DIY and professional epoxy finishes compare on durability?
A quality professional epoxy system, applied over properly ground concrete, typically uses a high-build basecoat with 80 to 100 percent solids content, broadcast decorative flake and a polyurethane or polyaspartic topcoat. The total build can reach 500 to 800 microns. Compare that to the 100 to 150 microns from a hardware store kit and you’re looking at a finish that’s four to five times thicker and significantly more resistant to hot tyre pick-up, chemical spills and abrasion.
Hot tyre pick-up is one of the most common complaints about DIY epoxy kits in Australia. When you park a car after a highway drive, the heat in the tyres can literally pull the coating off the floor in sheets. Higher-solids professional systems cure to a much harder matrix that resists this. Many professional installers also add a polyaspartic topcoat, which has a higher heat deflection temperature than standard epoxy.
That said, a well-applied DIY kit on a properly prepared slab can last five or more years with light vehicle use. The issue is that the prep and application steps that make this possible are the same steps most first-timers either skip or underestimate.
What does each option actually cost for a typical garage?
For a standard single-car garage of around 20 to 25 square metres, the numbers usually look something like this:
- DIY kit: $150 to $500 for materials, plus roughly 6 to 10 hours of your own time across a weekend. Add the cost of hiring an angle grinder and diamond cup wheel if you want proper prep, around $80 to $120 per day from a hire place.
- Professional installation: Typically $1,500 to $3,500 for a single-car garage, depending on the system, the number of coats and the condition of the concrete. Double garages run from around $2,500 upward.
The gap looks large on paper. But factor in the real risk of a kit failing within two years, the cost of stripping it back and starting again, and the lost weekend, and the value calculation gets a lot closer. A professional floor done right the first time can realistically last 10 to 15 years with basic maintenance.
When does a DIY epoxy kit actually make sense?
There are situations where a DIY kit is a sensible choice. If you’re renting and want to tidy up a rough slab for a modest investment, a kit does the job. If you’re coating a workshop or storage area that sees foot traffic only and no vehicle parking, the lower build thickness is perfectly adequate. If you have prior experience with concrete prep and understand what you’re signing up for, results can be genuinely impressive.
The honest truth is that the people who get the best DIY results are the ones who spend more time on preparation than on the application itself. They grind rather than etch, they patch cracks properly with epoxy filler, they let the concrete dry for at least 48 hours after any moisture work, and they apply two thin coats rather than one thick one. That discipline makes a real difference.
Where a kit consistently underdelivers is in high-use residential garages with vehicles parked daily, in homes with concrete slabs that have moisture issues, and in commercial or light industrial settings where the floor takes real punishment. In those situations, the money saved on a kit is usually spent twice over when it starts to peel.
What should you ask before choosing between a kit and a professional?
Before you commit either way, run through a few honest questions. How old is the slab, and do you know if there’s a vapour barrier underneath? Is the concrete power-trowelled or broom-finished? Have you had any previous coating on the floor? How often do you park vehicles in the space, and do those vehicles sit there hot after highway driving? Are you planning to sell the property in the next few years, where a professional-grade finish adds genuine kerb appeal?
The answers will tell you a lot. A broom-finished slab in a rarely used garage is a reasonable candidate for a kit. A polished, dense slab in a daily-use double garage is not.
Getting a professional quote costs nothing and gives you a concrete comparison point. You’ll know exactly what a professional system would look like, what prep work is involved and what the warranty covers. That makes the DIY versus pro decision a lot easier to make with confidence rather than guesswork.
Compare DIY kits to professional installation , get a quote from Metal and Flake