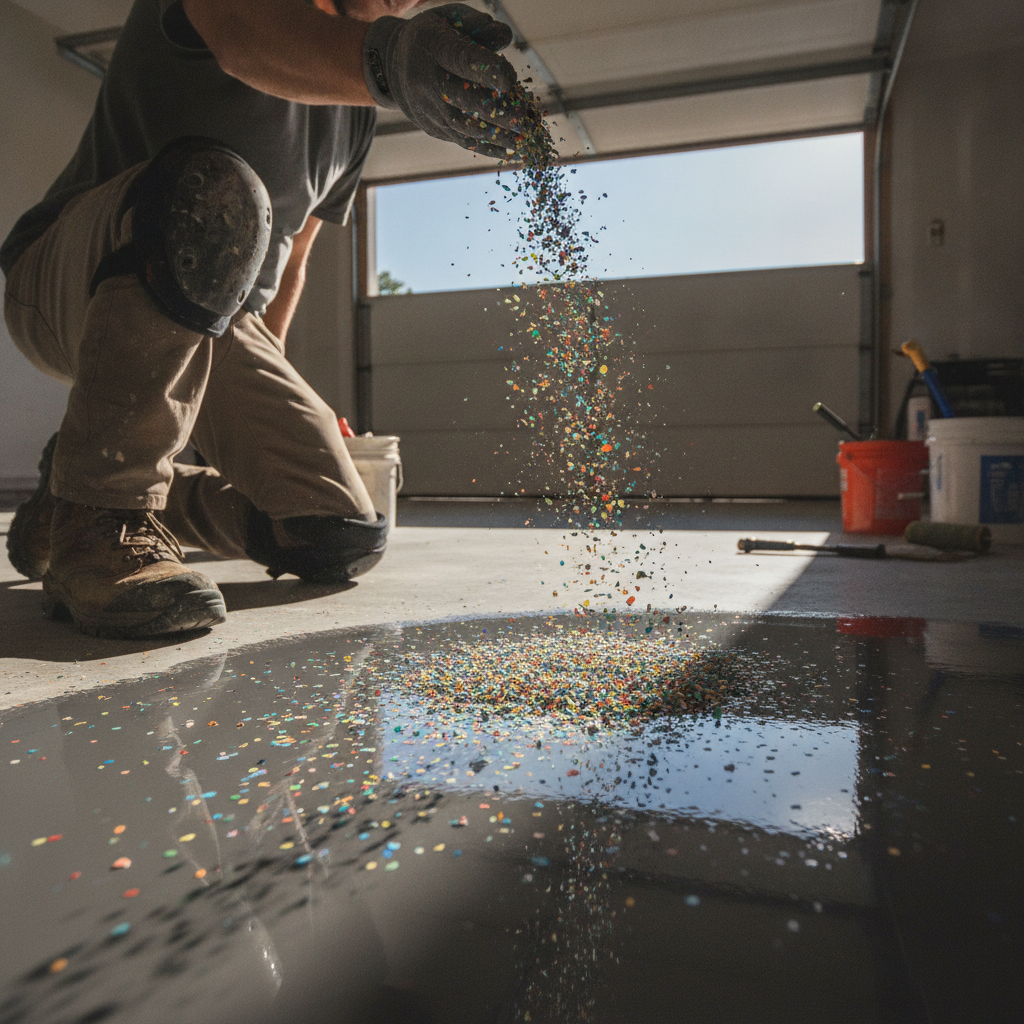
Epoxy Floors with Flakes: Styles, Benefits and What to Expect
Epoxy floors with flakes are a coating system where decorative vinyl flake chips are broadcast across a wet epoxy base coat, then sealed under a clear topcoat. The result is a floor that hides surface imperfections, resists heavy wear, and looks sharp in garages, warehouses, showrooms and homes. Most jobs take one to two days from prep to seal.
What styles are available with epoxy flake flooring?
Epoxy flake flooring comes in a wide range of colour blends, chip sizes and broadcast densities. Common sizes run from 1 mm fine chips through to 6 mm or larger statement flakes. You can choose a light, scattered coverage of around 30 to 50 percent of the surface, a medium blend at around 75 percent, or a full broadcast where chips completely hide the base coat. Each option gives a very different final look.
The colour options are genuinely broad. Neutral blends like grey, charcoal and white work well in garages and commercial spaces because they read as clean and professional under any lighting. Warmer tones, earthy browns and even bold custom blends suit showrooms or residential areas where the floor is part of the interior design. Chip size plays a big role in the finished texture too. Finer chips produce a smooth, almost terrazzo-like surface. Larger chips give more visual depth and a slightly more tactile grip underfoot, which is useful in wet areas or workshops.
A full broadcast is the most popular choice in residential garages across Melbourne because the flakes completely mask minor cracks, old staining or uneven colouring in the existing concrete. You get a consistent, polished appearance without grinding the slab back to perfection first.
What are the real benefits of epoxy floors with flakes compared to plain epoxy?
Epoxy floors with flakes outperform plain solid-colour epoxy in several practical ways. The flake layer breaks up light reflection, which means scuffs, tyre marks and light surface scratches are far less visible day to day. The chips also create a mild anti-slip texture under the clear topcoat, which plain epoxy cannot achieve without adding a separate grit additive.
Beyond appearance, the flake system builds a thicker overall coating than a single-colour solid epoxy. The base coat, the embedded chip layer and the topcoat together form a more robust surface that handles foot traffic, vehicle loads and dropped tools better than thinner alternatives. For context, a properly applied flake system typically lands between 3 mm and 5 mm in total thickness across all layers.
Maintenance is straightforward. Sweeping and a quick mop with a pH-neutral cleaner handles day-to-day dirt. Because the topcoat is non-porous, oil spills, chemical splashes and water bead on the surface rather than soaking into the concrete below. That matters in a home garage or workshop where spills are a regular part of life.
The other practical benefit is that the flake system suits a wider range of concrete conditions than polished concrete or plain coatings. Where the slab has patchy staining, previous paint remnants or moderate surface variation, the flake broadcast covers all of that cleanly. It works with the existing slab rather than demanding a pristine starting point.
What does the epoxy flake floor installation process actually look like?
The installation process for epoxy floors with flakes follows a clear sequence and typically runs across two days, sometimes one long day for smaller areas. Understanding each step helps you plan around it and know what to expect on the day.
Day one begins with surface preparation. This is the most important part of the job. Diamond grinding or shot blasting opens up the concrete surface so the epoxy bonds mechanically rather than just sitting on top. Any cracks or low spots are filled with a fast-cure filler compound at this stage. Skipping proper prep is the primary reason flake floors fail early, so any installer worth hiring treats this step seriously.
Once the surface is clean and profiled, the base coat epoxy goes down. This is the adhesion layer and it typically dries to a tacky state within the first few hours. While it is still tacky, the vinyl flake chips are broadcast by hand across the surface. Depending on the coverage style you have chosen, this can be a light scatter or a full throw where the entire wet base coat is covered. The chips embed into the epoxy as it cures.
After the base coat and chips have cured fully, usually overnight, the installers return to scrape back any raised or loose chips and lightly sand the surface flat. This step removes the rough texture and prepares the surface for the topcoat. The clear topcoat, often a polyurethane or polyaspartic product, is then rolled across the entire floor. This is the layer that provides UV resistance, chemical resistance and the final sheen. Polyaspartic topcoats are worth knowing about specifically because they cure quickly enough to allow foot traffic within a few hours, which is convenient for residential jobs where access to a garage matters.
The floor needs at least 24 hours before light foot traffic and around 72 hours before you drive vehicles onto it. Rushing this cure window is the other common reason floors develop adhesion issues, so patience at the end of the job is just as important as prep at the start.
How long do epoxy flake floors last and what affects their lifespan?
A well-installed epoxy flake floor in a residential garage or light commercial space can last 10 to 20 years before needing attention, provided it was prepped and sealed correctly at the start. The topcoat is the layer that wears first, and in high-traffic areas it may need recoating after 7 to 10 years while the base and flake layer underneath remain perfectly sound.
Three things shorten the lifespan faster than anything else. The first is poor surface preparation at installation, which allows moisture trapped in the slab to push the coating up from below. The second is using a thin or low-quality topcoat that breaks down under UV exposure or chemical contact. Topcoats without UV stabilisers will yellow and chalk within a few years, especially near doors or windows where sunlight hits the floor. The third factor is sustained point loads, like heavy metal shelving feet or vehicle jack stands sitting in the same spot for months, which can cause localised delamination over time.
Keeping the floor clean and free of abrasive grit is the simplest maintenance step that extends life. Fine sand and dirt particles act like sandpaper under foot traffic. A regular sweep followed by a damp mop keeps the topcoat in good condition between professional maintenance visits.
If you are weighing up epoxy floors with flakes for a Melbourne garage, showroom or commercial space, the combination of practical durability, easy maintenance and genuine visual appeal makes it one of the most cost-effective flooring choices available for concrete slabs. Book an epoxy flake floor installation with Metal and Flake.