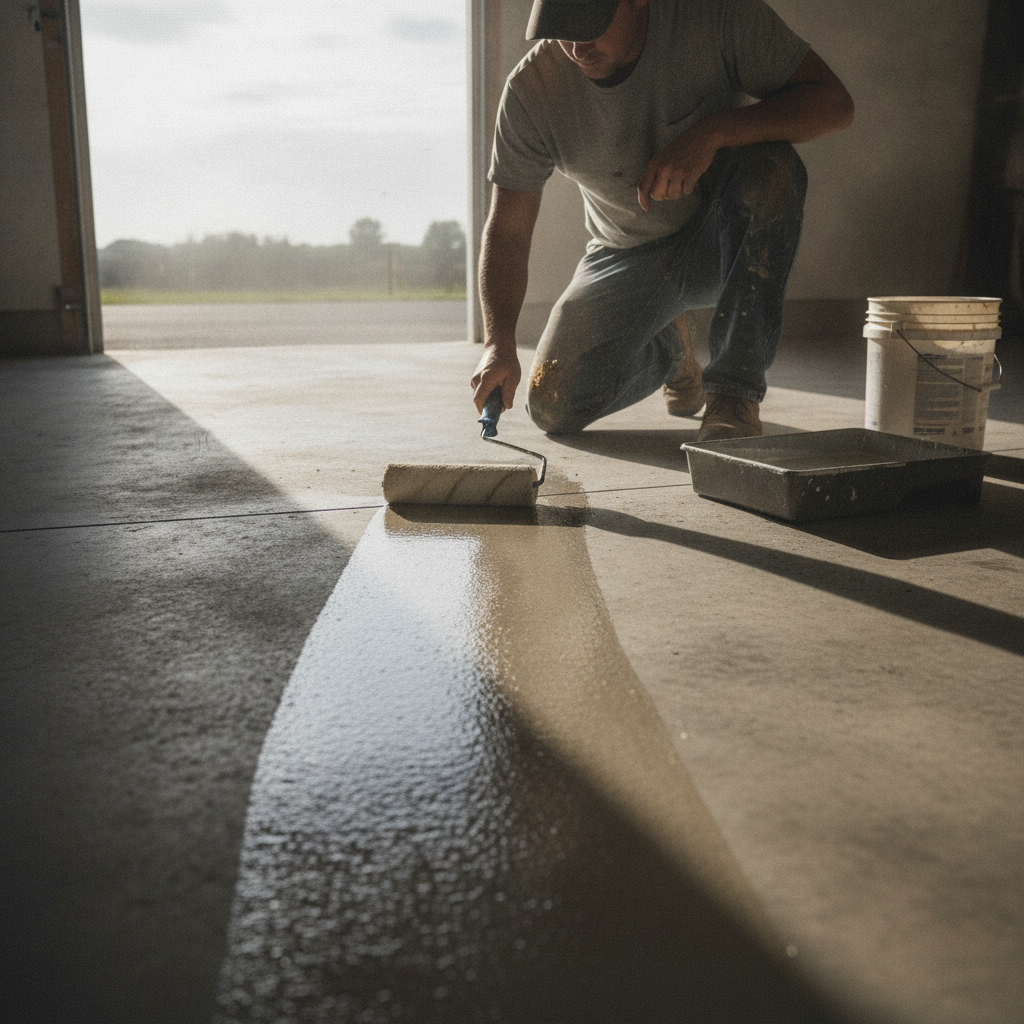
How to Seal a Concrete Floor: Steps, Products and Tips
To seal a concrete floor properly, you need to clean and prepare the surface first, choose the right sealer for the job (penetrating, acrylic or epoxy-based), apply it in thin even coats, and allow full cure time before foot traffic. Skipping any of these steps is the most common reason sealers peel, blush or wear out early.
Why should you seal a concrete floor in the first place?
Sealing a concrete floor protects it from moisture, oil, stains and surface abrasion that will otherwise break down the slab over time. Unsealed concrete is porous, so spills soak straight in, salts migrate up from below, and foot traffic gradually dusts the surface. A good sealer closes those pores and gives you a surface that is far easier to clean and maintain for years.
Concrete looks solid but it is genuinely full of tiny capillaries. Water and oils travel through those capillaries and cause problems you can see: efflorescence (white salt deposits), spalling in cold weather, tyre marks in garages, and dark staining from cooking oil or motor grease. A sealer acts as a barrier between the slab and whatever lands on it.
For Melbourne homes, moisture is a particular concern. The city’s variable climate means slabs in garages, patios and laundries are regularly exposed to humidity and ground moisture pushing up from below, especially on older slabs without a proper vapour barrier underneath.
What products can you use to seal a concrete floor?
The main product types used to seal a concrete floor are penetrating sealers (silane or siloxane), acrylic sealers, polyurethane sealers and epoxy coatings, each suited to different performance needs and surface conditions. Penetrating sealers soak in and repel water without changing the look; acrylics sit on top and add a sheen; polyurethanes and epoxies deliver a hard, durable film ideal for garages and high-traffic areas.
Here is a plain breakdown of the main options:
- Penetrating sealers (silane/siloxane): These soak into the concrete and chemically bond with the silica. They are invisible, breathable and ideal for driveways, paths and outdoor slabs where you want protection without changing the appearance. They do not form a film, so they will not peel.
- Acrylic sealers: Water or solvent-based, they sit on the surface as a thin film. They are relatively affordable and easy to apply, and they add a low to high gloss finish. Reapplication every two to three years is typical for exterior use.
- Polyurethane sealers: Thicker and harder than acrylics, these are a solid step up in durability. They resist scuffs, chemicals and UV better than a basic acrylic. Good for internal garage floors and commercial spaces.
- Epoxy coatings: A two-part system that creates a thick, hard, bonded surface. Epoxy is not technically just a “sealer” but it does seal the concrete while also transforming the look. It is the most durable option for garage floors and workshops, and it can incorporate colour, metal pigments or flake for a premium finish.
For outdoor areas in Melbourne, a penetrating sealer or a good-quality solvent-based acrylic is usually the go-to. For garages and internal concrete floors where you want both protection and a sharp look, epoxy coatings are the benchmark.
How do you prepare a concrete floor before sealing?
Before you seal a concrete floor, the surface must be clean, dry, free of existing coatings and properly profiled so the sealer can bond. Any grease, paint, curing compounds or old sealer left on the slab will cause the new product to delaminate, sometimes within weeks of application.
Follow these steps in order:
- Clear the area completely. Move out furniture, vehicles, boxes. Everything.
- Degrease. Use a concrete degreaser on any oil or grease spots and scrub with a stiff brush. Rinse thoroughly and allow to dry fully, which can take 24 to 48 hours depending on conditions.
- Remove old coatings. If there is an existing sealer or paint, it needs to come off. For small areas a chemical stripper works. For a full garage floor, mechanical grinding is the practical choice.
- Etch or grind the surface. New concrete and smooth slabs need to be opened up so the sealer has something to grab onto. Acid etching with a diluted hydrochloric acid solution (around 1:10 with water) is the traditional approach for DIY. Diamond grinding gives a more consistent profile and is preferred by professionals. The surface should feel like 80-grit sandpaper after etching.
- Neutralise and rinse. After acid etching, neutralise with a baking soda and water solution, rinse thoroughly, then let the slab dry completely. Moisture in the slab at the time of sealing is one of the top reasons for adhesion failure.
- Check for moisture. Tape a piece of plastic sheeting (about 600mm x 600mm) to the floor with tape on all four edges. Leave it for 24 hours. If moisture appears on the underside, the slab has a moisture issue that needs to be addressed before sealing.
What is the correct process to apply a concrete sealer?
To apply a concrete sealer correctly, work in thin, even coats using the right applicator for the product, overlap each pass by about a third, allow proper recoat windows between coats, and never apply in direct sun or when rain is expected within 24 hours. Two thin coats always outperform one thick coat.
The general application process looks like this:
- Read the product data sheet. Every sealer has specific coverage rates, recoat windows and temperature requirements. Follow them. The data sheet is not a suggestion.
- Choose the right applicator. Solvent-based acrylics and penetrating sealers typically go on with a short-nap roller (6mm to 10mm) or a pump sprayer. Epoxy coatings use a squeegee to spread the material, followed by a roller to back-roll and release air.
- Apply the first coat. Work in sections. Keep a wet edge. Do not go back over areas that have started to tack up or you will leave marks.
- Allow the recoat window. For most acrylics this is one to two hours. For epoxy systems it can be four to eight hours between coats. Check the label.
- Apply the second coat. Run it in the opposite direction to the first coat to get even coverage.
- Observe cure times. Light foot traffic is often possible after 24 hours but full cure for vehicle traffic on an epoxy floor typically takes five to seven days. Do not rush this.
Temperature matters more than most people expect. Most sealers should be applied when the slab and air temperature are between 10°C and 30°C. Melbourne mornings in autumn and winter can drop below that quickly, so start mid-morning and plan to finish before late afternoon.
What are the most common mistakes when sealing a concrete floor?
The most common mistakes when sealing a concrete floor are applying to a damp or poorly prepped surface, using too thick a coat, choosing the wrong product for the conditions, and not allowing full cure before loading the floor. Each of these leads to peeling, bubbling, whitening or premature wear that requires stripping and starting again.
A few worth calling out specifically:
- Sealing new concrete too early. Freshly poured concrete needs to cure for at least 28 days before most sealers are applied. Sealing earlier traps moisture and weakens the slab surface.
- Applying in full sun. Direct summer sun heats the slab surface rapidly, causing solvent-based sealers to flash off before they can properly penetrate. Apply in shade or on cooler days.
- Skipping the moisture test. Even in Melbourne’s drier months, slabs can have moisture pushing up from the ground. Sealing over a wet slab is probably the single biggest cause of epoxy and acrylic delamination.
- Using a brush on large areas. Brushes leave streaks and lap marks. Use a roller or sprayer for anything bigger than a step or tight corner.
- Mixing product types. Applying a solvent-based sealer over a water-based one (or vice versa) without stripping the old coat first will almost always cause adhesion problems.
When does sealing cross into professional epoxy coating territory?
Sealing a concrete floor with a basic acrylic or penetrating sealer is manageable as a DIY job on a prepared surface. But when the goal is a durable, good-looking floor in a garage, workshop, commercial space or showroom, a professional epoxy or polyurethane floor coating system delivers results that a DIY sealer simply cannot match in terms of hardness, chemical resistance, longevity and finish quality.
Professional applicators like the team at Metal and Flake use diamond grinding equipment to get the surface profile exactly right, apply moisture-tolerant primer coats where needed, and use commercial-grade two-part epoxy systems with broadcast flake or metallic pigment for a finish that holds up under vehicle traffic and looks sharp doing it.
If your slab is in poor condition, has active moisture issues, or you want a floor that genuinely transforms the space rather than just protecting it, that is where a professional coating system earns its cost over a DIY sealer.
Get a professional concrete sealing quote