Self-Levelling Concrete: When to Use It Before Epoxy Floors
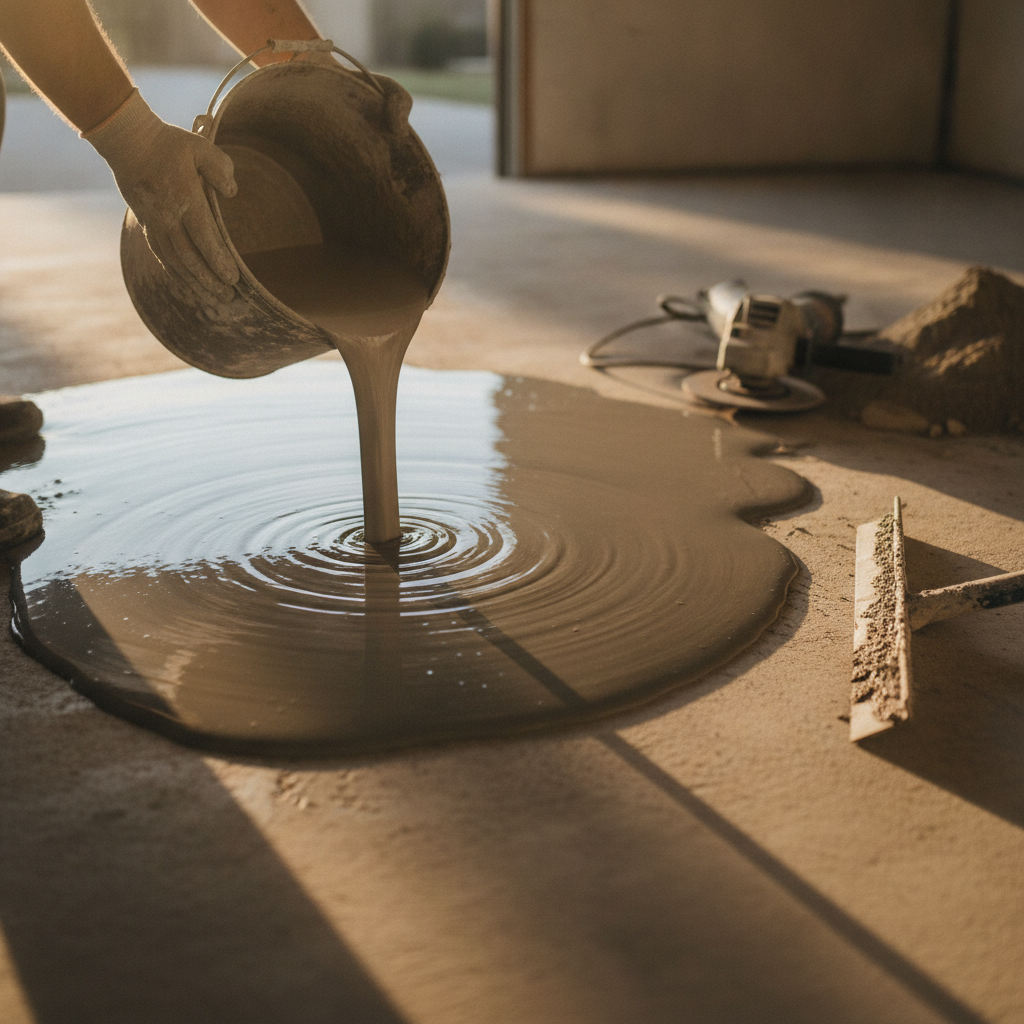
Self levelling concrete is a pourable, cement-based compound that flows across a floor and settles flat under its own weight. You use it before epoxy coating when the existing slab has low spots, uneven sections or surface dips greater than about 3 mm. It fills irregularities that would otherwise telegraph through the finished epoxy coat and cause pooling, cracking or a patchy final appearance.
What exactly is self levelling concrete?
Self levelling concrete is a modified, polymer-reinforced underlayment compound mixed to a pourable consistency. Unlike standard concrete, it contains plasticisers that let it spread and self-smooth without trowelling. Once cured, it provides a hard, flat substrate rated for foot traffic within 24 hours and ready for coating within 24 to 48 hours depending on depth and ambient temperature.
The product is often sold in 20 kg bags and mixed with a measured amount of water before being poured from one end of the room. A gauge rake or smoother pin keeps the depth consistent, usually between 3 mm and 50 mm per pour. Deeper repairs may need two passes. It is not the same as a skim coat or a patch mortar, and it is worth knowing the difference before committing to either.
A skim coat sits at around 1 to 2 mm and is designed to take out surface texture, not height variation. Patch mortar is stiff and is pressed into holes. Self levelling compound sits in between: it handles genuine height changes across a floor that would make a smooth topcoat impossible.
When does a concrete slab actually need self levelling compound before epoxy?
A slab needs self levelling concrete before epoxy when surface variation across any 3-metre span exceeds 3 mm. Below that threshold, diamond grinding and proper surface prep are usually enough. Above it, the epoxy will pool in low areas, cure at uneven thicknesses, and risk peeling or stress cracking within months of installation.
Here are the scenarios where self levelling compound earns its place:
- Settlement dips. Older Melbourne homes and garages often have slabs that have settled unevenly over decades. A low corner or a gradual slope toward the centre is common in post-war brick veneer construction. No amount of grinding fixes that. You need to bring the low side up.
- Grinding scars from previous coatings. If someone has already ground back a painted or tiled floor and left ridges or low lanes where the machine tracked, a levelling compound smooths the whole surface back to one plane.
- Tiled floors where tiles have been removed. Tile adhesive leaves lumps and the tile bed sits higher than the surrounding slab. Skim over the whole area with self levelling compound and you eliminate every high point and low point in one step.
- Industrial slabs with traffic wear channels. Forklifts and pallet jacks travelling the same path for years wear grooves. These can be several millimetres deep and several hundred millimetres wide, well beyond what a squeegee-applied epoxy basecoat can fill.
What won’t self levelling concrete fix?
Self levelling concrete will not fix structural cracks, active movement joints, contaminated concrete or a slab with moisture coming up from below. Pouring compound over any of those problems traps the issue under the surface. The compound will delaminate, crack through or bubble, and the epoxy coat on top will fail along with it.
Structural cracks need to be routed out and filled with a semi-rigid polyurethane or epoxy crack injection product before any levelling work begins. Movement joints need to be respected and carried through the compound layer. A slab with a positive moisture reading above the threshold recommended by the compound manufacturer needs proper moisture mitigation first. Pouring compound over a wet slab is one of the most common reasons DIY floor prep jobs fail.
Surface contamination is the other silent killer. Oil, grease, paint, curing compounds and adhesive residue all need to be removed before the compound is poured. If they are not, the compound sits on the contamination rather than bonding to the concrete, and it will lift in sheets. The prep steps before self levelling compound are almost identical to the prep steps before epoxy: mechanical scarification or diamond grinding, cleaning, and a priming coat to seal the concrete surface and help the compound key in.
How does self levelling concrete fit into proper floor preparation for epoxy?
Self levelling concrete is one step in a broader floor preparation process, not a standalone solution. For an epoxy coating to last, the slab needs to be structurally sound, clean, dry, flat and mechanically profiled. Self levelling compound addresses flatness. The other requirements need to be met independently before and after the pour.
A typical prep sequence that includes self levelling compound looks something like this:
- Inspect the slab for cracks, movement, moisture and contamination.
- Repair cracks and fill deep voids with appropriate products.
- Grind or scarify the surface to remove coatings, laitance and contamination, and to open the concrete profile.
- Vacuum and clean thoroughly.
- Apply a bonding primer to the prepared concrete.
- Pour the self levelling compound to the required depth and allow to cure fully.
- Light sand or grind the compound surface if needed to remove any pin-holes or ridges.
- Apply the epoxy basecoat, broadcast any decorative flake or metallic aggregate, and finish with topcoats.
Skipping or rushing any of those steps is where things go wrong. The self levelling pour looks simple but it is unforgiving. Once it is down and setting, you have a narrow window to fix any coverage gaps or air bubbles before the compound locks in. Experienced installers work quickly and methodically, priming right to the edges, mixing to a consistent water ratio, and pouring in a continuous wet edge across the floor.
Should you use self levelling concrete yourself or leave it to a professional?
For a small floor with minor variation, a confident DIYer with the right products and a flat profile to achieve can manage self levelling concrete themselves. For floors larger than about 20 square metres, floors with significant height variation, or floors destined for a professional epoxy coating, it is worth leaving the levelling work to the same crew doing the epoxy. Adhesion failures and hollow spots under the compound are hard to detect until the epoxy coat starts to separate months down the track.
Getting the primer right matters as much as the pour itself. Most self levelling compound manufacturers specify a particular primer dilution, dwell time and surface-dry condition before the compound is poured. Residential applicators often skip the primer or use the wrong product and end up with compound that sounds hollow underfoot. On a floor headed for an epoxy finish, that is not acceptable.
A professional floor preparation crew will diamond grind the concrete to an open profile, apply the correct primer, pour and gauge the compound, and assess the finished surface before the epoxy work begins. That full sequence is the only way to guarantee the epoxy topcoat bonds properly, cures evenly and performs for the long haul.
If your slab has visible dips, uneven sections from old tiles or settlement, or grinding marks from a previous removal job, get it assessed before any coating work starts. Good prep is the difference between an epoxy floor that looks great for ten years and one that starts lifting within two.
Get a quote for floor preparation and epoxy coating