Garage Floor Epoxy Coat: How Many Coats Do You Actually Need?
A proper garage floor epoxy coat system needs a minimum of three layers: a penetrating primer, a pigmented base coat and a clear protective topcoat. Most quality installs run to four coats when a decorative flake or metallic layer is added between the base and the top. Fewer coats means thinner build, faster wear and a floor that won’t handle real Australian garage traffic for long.
Why does the number of garage floor epoxy coats matter so much?
The number of coats directly controls total film thickness, which is what stands between your concrete and everything that gets dropped, driven or spilled on it. A single coat of epoxy sits at roughly 100 to 150 microns dry film thickness. Three to four coats stacked correctly brings you to 400 microns or more, which is the threshold where a residential garage floor genuinely resists abrasion, hot tyre pick-up and chemical staining over the long term.
Think of it like painting a fence. One coat looks fine on the day, but by the following summer the timber is showing through. Two coats holds longer. Three coats on bare timber with a proper primer underneath and you won’t be back for years. Epoxy is no different, except the consequences of going thin are harder to reverse. Stripping an under-built epoxy floor and starting again costs more time and money than doing it right the first time.
The other thing coat count controls is adhesion between layers. Each coat bonds chemically to the one beneath it when applied within the correct recoat window, typically four to twelve hours depending on temperature and humidity. Miss that window on a Melbourne autumn day when conditions swing, and you’re relying on mechanical adhesion alone, which is noticeably weaker. Multiple planned coats give you multiple opportunities to build a genuinely fused system rather than a stack of separate films.
What does each individual garage floor epoxy coat actually do?
Each coat in a proper system serves a distinct purpose. The primer soaks into the concrete and locks down porosity. The base coat carries colour and builds film thickness. A decorative broadcast layer, such as vinyl flake or metallic pigment, adds slip resistance and appearance. The topcoat seals everything and provides the hard, chemical-resistant wearing surface that faces daily use.
Here is how each layer works in practice:
- Primer coat. Often a low-viscosity epoxy or moisture-tolerant formulation, this penetrates open concrete pores and creates a mechanical key. Skipping it is the single most common reason DIY floors delaminate within twelve months.
- Base coat. A full-bodied, pigmented epoxy that delivers the bulk of the system’s thickness. This is where the colour lives, and where the first real protection against impact and abrasion is established.
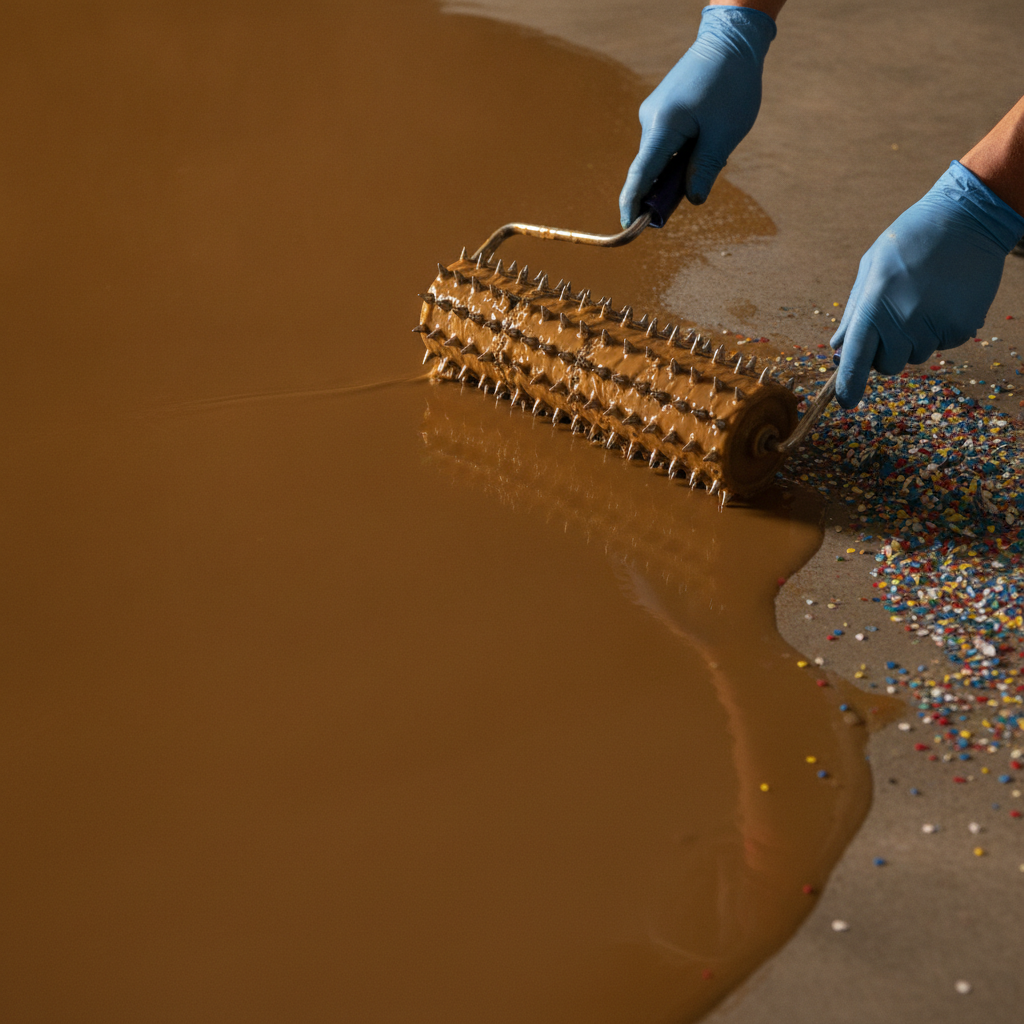
- Broadcast or decorative layer. On a flake floor, colour chips are scattered into the wet base coat and allowed to cure before the excess is scraped back. On a metallic floor, pigmented epoxy is manipulated while wet to create movement and depth. This layer also adds meaningful texture underfoot.
- Topcoat. A clear polyurethane or polyaspartic topcoat goes over the decorative layer. This is the coat that takes the punishment. Polyaspartic topcoats, for example, cure faster than standard epoxy and offer excellent UV stability, which matters if your garage gets afternoon sun through an open door.
Some premium systems add a second topcoat for high-traffic or commercial-grade installs. If you’re parking a heavy vehicle daily, running a home workshop, or the garage doubles as a gym, a second clear coat is a straightforward way to extend service life without a full extra base layer.
Can you get away with just one or two coats on a garage floor?
Technically yes, but the trade-offs are significant. A single seal coat protects against light dust and moisture, but it won’t handle repeated traffic, dropped tools or pooled brake fluid. Two coats with no primer is better than one, but adhesion to bare concrete remains a weak point. For a garage that sees real use, one or two coats is a short-term fix that typically needs recoating or replacing within two to three years.
There are specific situations where a thinner build is a reasonable short-term choice: a storage shed with foot traffic only, a temporary workshop before a slab replacement, or a rental property where budget is the primary constraint. Outside those scenarios, cutting coats to save money rarely works out cheaper over a five to ten year period.
It is also worth knowing that concrete condition affects how many coats you actually need. A freshly poured, well-cured slab with low porosity might take a primer and two coats well. An older slab with surface contamination, previous sealer residue, or acid etching damage may need a second primer coat before the base coat can grip properly. Grinding the surface mechanically to a concrete surface profile (CSP) of 2 to 3, the standard recommended by most epoxy manufacturers, is the preparation step that lets every subsequent coat do its job.
How does the type of epoxy affect how many coats you need?
The formulation of the product changes the coat count equation. Water-based epoxy, common in hardware store DIY kits, has a much lower solids content, often around 40 to 50 percent solids by volume. That means a significant portion of the applied wet film evaporates, leaving a thinner dry film behind. To reach the same total thickness as a 100 percent solids, two-part epoxy, you might need five or six coats of a water-based product versus three or four of the professional grade.
Solvent-based epoxies fall somewhere in between and carry their own ventilation and application challenges. The professional epoxy systems used by trained installers are typically 100 percent solids, meaning what goes on wet is essentially what stays behind as a cured film. That higher build per coat is one of the main reasons professional results look and last differently from DIY attempts using over-the-counter products.
Polyaspartic coatings, often used as the topcoat in a modern system, can be applied thicker per coat than standard epoxy without sagging, and they cure fast enough in Melbourne’s variable conditions to allow same-day topcoating in some installs. That speed is practical for homeowners who can’t leave the garage out of action for multiple days.
What is the right coat count for a Melbourne garage floor?
For a typical Melbourne residential garage, the sweet spot is four coats: primer, base coat, decorative broadcast layer and a single clear topcoat. That build handles the full range of what a busy Australian household throws at a garage floor. Five coats, adding a second clear, suits home workshops, gym spaces or anyone parking a heavier vehicle like a ute or SUV regularly.
Melbourne’s climate is worth factoring in. Humidity and temperature swings between seasons affect cure times and the recoat window on each layer. A professional installer will adjust product selection and timing to suit the conditions on the day, which is harder to do accurately without experience reading how a particular slab is behaving. Getting each coat down at the right thickness and within the right window is as important as the total coat count itself.
The other Melbourne-specific consideration is slab moisture. Many older homes in the suburbs have slabs without an adequate vapour barrier beneath them. High moisture vapour transmission can lift an epoxy system from the underside over time, especially if the primer coat isn’t chosen to tolerate moisture. A professional assessment of the slab before any coating goes down is the most reliable way to choose the right primer and avoid a costly failure.
If you want a floor built to the right spec from the first coat to the last, Book a multi-coat garage floor epoxy service.