DIY Epoxy Garage Floor Coating: What You Need to Know Before You Start
A DIY epoxy garage floor coating can freshen up a dull concrete slab and costs less upfront than hiring a professional. But the results depend almost entirely on surface preparation, the quality of the product you choose, and the conditions on the day. Get any of those three things wrong and the coating peels, bubbles or wears through within a year or two.
What does a DIY epoxy garage floor coating actually involve?
A DIY epoxy garage floor coating involves cleaning and etching the concrete, mixing a two-part epoxy resin, rolling it out across the floor and leaving it to cure. Most hardware-store kits cover around 40 to 50 square metres and include a base coat, decorative flakes and a clear topcoat. The full process takes a weekend minimum, with mandatory cure time between coats.
It sounds straightforward on the tin, but there are a few realities worth knowing before you crack that lid open. Let’s walk through them one by one.
Why is surface preparation the most critical step in any epoxy garage floor coating project?
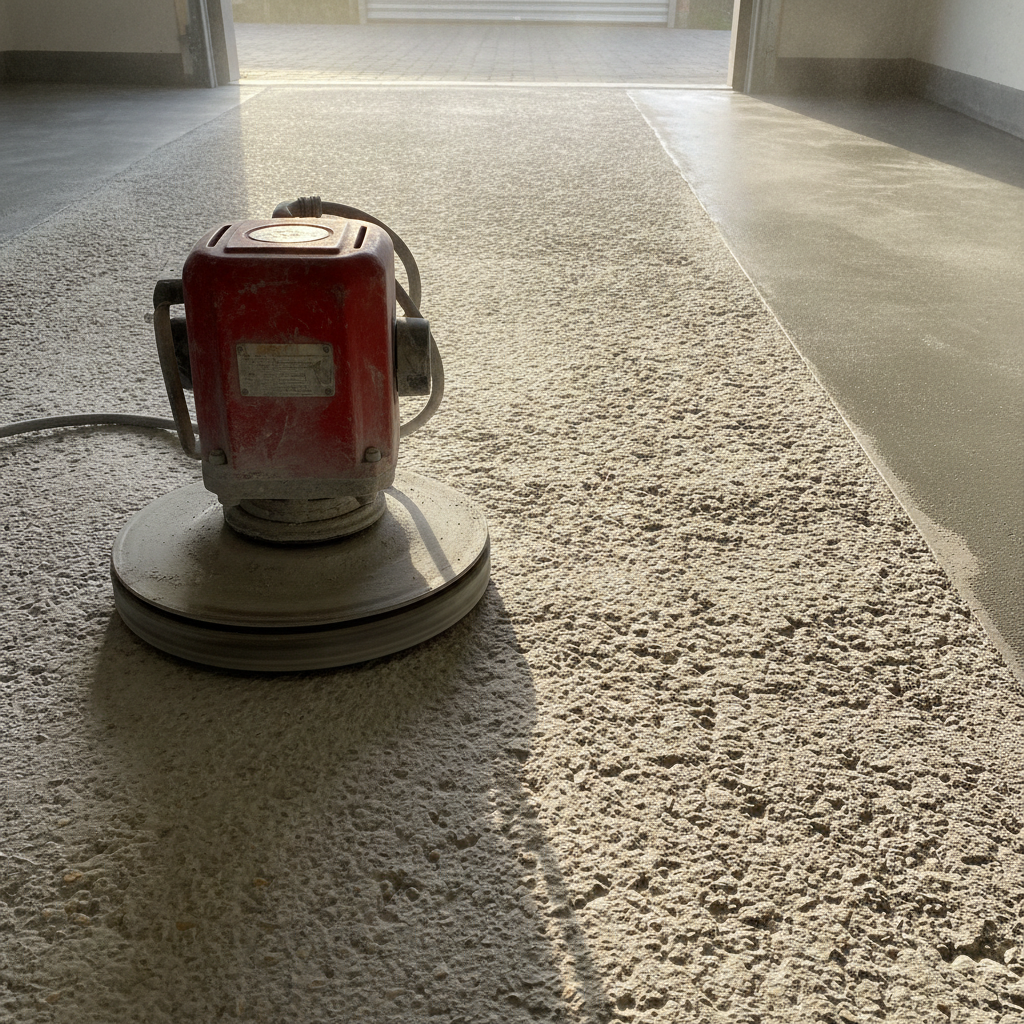
Surface preparation is the most critical step because epoxy bonds to the concrete, not to dust, oil, old paint or efflorescence. If the surface is contaminated or not mechanically opened up, the coating will lift. Professional installers typically diamond-grind concrete to create a profile; most DIY instructions only call for acid etching, which is less reliable on dense or sealed slabs.
Here is where most first-time DIYers run into trouble. A concrete grinder is not a common item in the average garage, and hiring one adds cost and time to the project. Acid etching with muriatic acid does open up the pores of the concrete to some degree, but it is a hazardous process that requires proper protective gear, good ventilation and careful neutralising and rinsing afterwards.
Oil stains are a particular headache. Concrete is porous, and if a car has ever leaked on that floor, the oil has likely soaked in over time. No amount of degreaser applied the morning before you start will fully draw that oil out. When epoxy goes over a contaminated slab, delamination is almost guaranteed. You will see it as bubbling or lifting, usually within the first few months of use.
How do DIY epoxy kits compare to professional-grade epoxy products?
DIY epoxy kits sold at hardware stores typically use water-based formulas with a solids content of around 40 to 50 percent. Professional-grade epoxy used by specialist installers generally has a solids content of 90 to 100 percent, meaning a thicker, harder, more durable film once cured. That difference in solids content directly affects how the floor holds up to vehicle traffic, hot tyres and chemical spills.
There is nothing dishonest about retail epoxy kits. They do what they say they will do, under the right conditions, applied correctly. The problem is that they are formulated to be easy for a non-tradesperson to mix and apply, which means they are also thinner and less chemically resistant than commercial products.
Hot tyre pickup is one of the most common complaints about DIY garage floor coatings. When your car has been driven and the tyres are warm, they can literally bond to a thin epoxy coating and pull chunks of it off when you drive out again. Higher-solids professional products are far more resistant to this because the cured film is denser and harder.
Another factor is the topcoat. Many retail kits include a polyurethane or water-based clear topcoat. Professional finishes often use a two-part polyaspartic or high-build urethane clear that is significantly more scratch-resistant and UV-stable. If your garage gets direct sunlight through an open door, a basic topcoat will yellow and chalk over time.
What conditions can ruin an epoxy garage floor coating application?
Temperature and humidity are the two conditions most likely to ruin a DIY epoxy garage floor coating. Epoxy should generally be applied when the concrete temperature is between 10 and 30 degrees Celsius and when the slab temperature is at least 3 degrees above the dew point. Applying epoxy to a cold or damp slab traps moisture under the film and causes blistering as the coating cures.
Melbourne’s climate throws a few curveballs here. A crisp autumn morning can look perfect for a garage project, but if the concrete is sitting at 8 degrees it is too cold for most retail epoxy kits to cure properly. Likewise, a warm summer day with high humidity can cause the topcoat to blush or go milky as it dries.
Timing matters too. Most two-coat epoxy systems require the second coat to go on within a specific recoat window, often 12 to 24 hours after the first coat, depending on the product and conditions. Miss that window and you may need to sand the first coat to give the second coat something to grip. That is not in the instruction pamphlet of most kits.
Is a DIY epoxy garage floor coating actually worth the cost saving?
A DIY epoxy garage floor coating can be worth the cost saving for a small, clean slab with no oil contamination, no existing coating to remove and a homeowner who is genuinely prepared to do the prep work properly. For most garages though, the cost of hiring equipment, buying prep chemicals, and potentially redoing a failed coat brings the total much closer to a professional quote than it first appears.
A standard two-car garage is roughly 36 to 40 square metres. A decent retail kit for that space will set you back anywhere from $250 to $500 depending on the brand and finish. Add in a concrete grinder hire ($80 to $120 per day), acid etch supplies, safety gear and a second kit if your first attempt does not go down cleanly, and you are already well past the $700 mark. At that point you are doing significant physical work, spending a full weekend in a confined space with chemicals, and still ending up with a thinner, less durable product than a professional install.
That is not to say DIY is the wrong call for everyone. If you enjoy that kind of project, you have a small clean slab, and you are happy with a result that may need re-doing in five to seven years, it can absolutely be a satisfying weekend job. Just go in with realistic expectations rather than the aspirational photos on the kit packaging.
What should you check before committing to the DIY route?
Before committing to a DIY epoxy garage floor coating, check three things: whether the slab has any moisture issues, whether there is any existing coating or sealer already on the concrete, and whether the concrete is structurally sound with no cracks or spalling that need attention first. Any of these will significantly change your prep requirements and may tip the balance toward professional installation.
To test for moisture, tape a piece of plastic sheeting to the slab overnight. If there is condensation under the plastic the next morning, moisture is migrating up through the concrete. That is a significant problem for epoxy adhesion and one that a DIY kit cannot solve on its own.
To check for an existing sealer, pour a small amount of water on the slab. If it beads up rather than absorbing, there is likely a sealer present. That sealer needs to be mechanically removed before any epoxy coating will stick, which brings you back to the grinder.
For cracks, hairline surface cracks can usually be filled with an epoxy crack filler before coating. Structural cracks that move or are wider than a few millimetres need assessment before you put any coating over the top of them.
Taking stock of all this before you buy the kit will save you a frustrating and expensive redo six months down the track.
See why a professional epoxy garage floor coating from Metal and Flake outlasts DIY kits